
Questions: How do you check the transmission oil level in 300 Series Hole Diggers?
Answer: Follow procedure in the Operator Manual.
CAUTION!
300 Series Hole Diggers are shipped from the factory without oil in the transmission. Oil is provided in the original shipping carton. Failure to properly fill and operate the transmission with oil can result in damage that is not covered by the product warranty program.
Need help?
Call us at 800.533.0524, or
email: support@generalequip.com.
Steps below to check oil level.
-
Do not check oil level with the engine running!
-
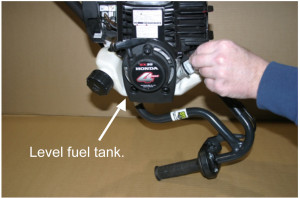
Place the Hole Digger on a level surface.
-
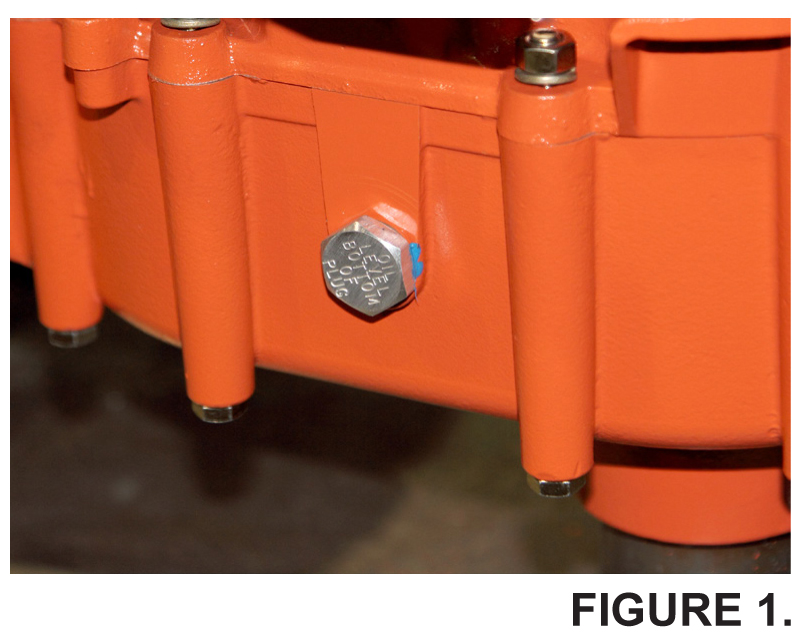
Wipe any dust or dirt from the transmission oil filler/level plug area.
The oil filler/level plug is located on the side of the transmission. FIGURE 1.
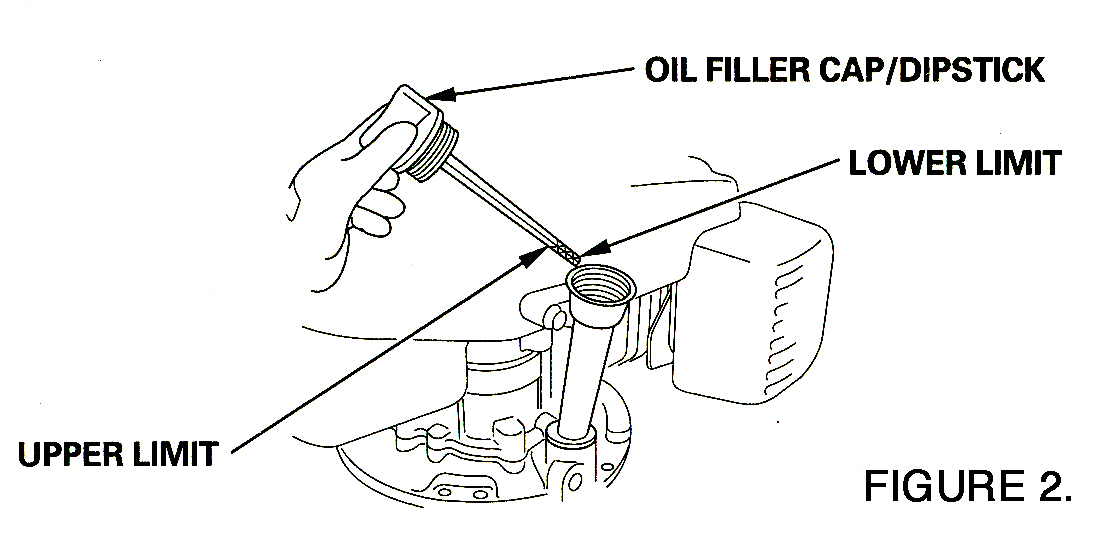
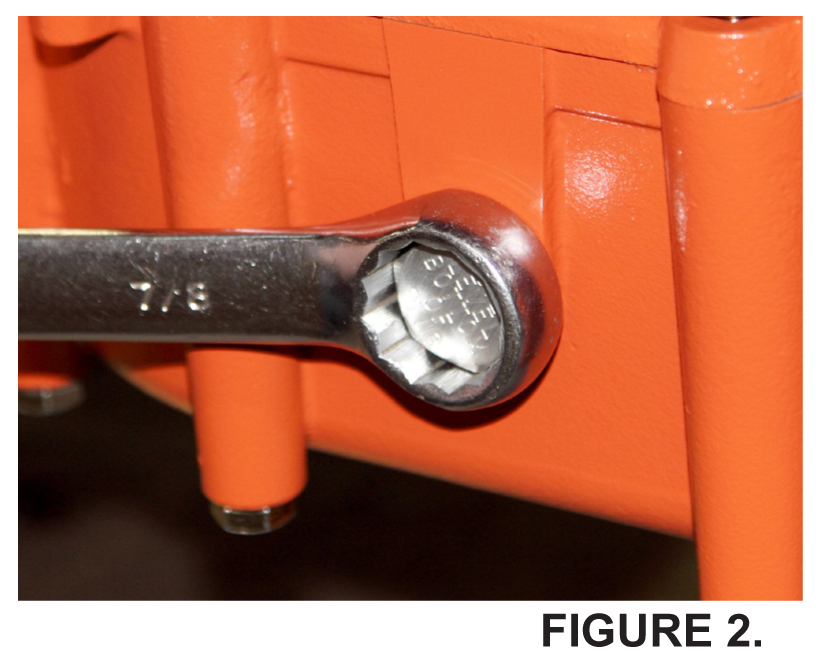
- Remove the plug with a suitable wrench. FIGURE 2.
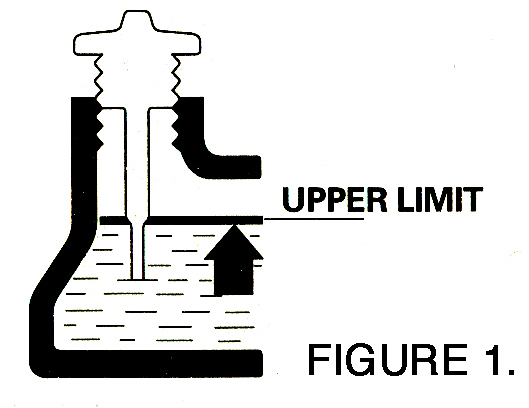
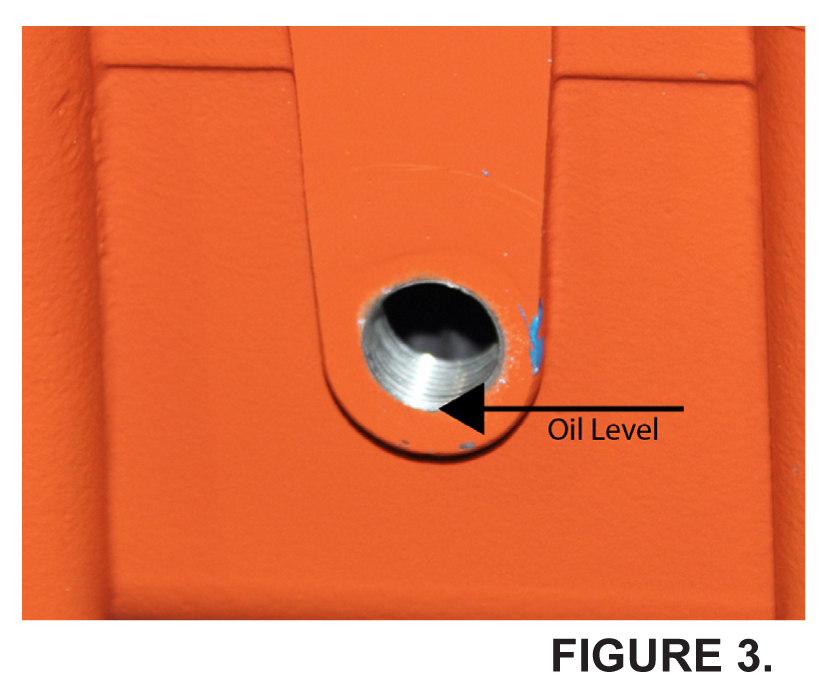
- The transmission oil level is to be maintained at the bottom of the oil filler/level plug hole. FIGURE 3.
-
If the oil level is not visible add oil up to bottom of the hole. DO NOT OVERFILL.
-
Allow excess oil to drain out of the transmission if overfilled.
-
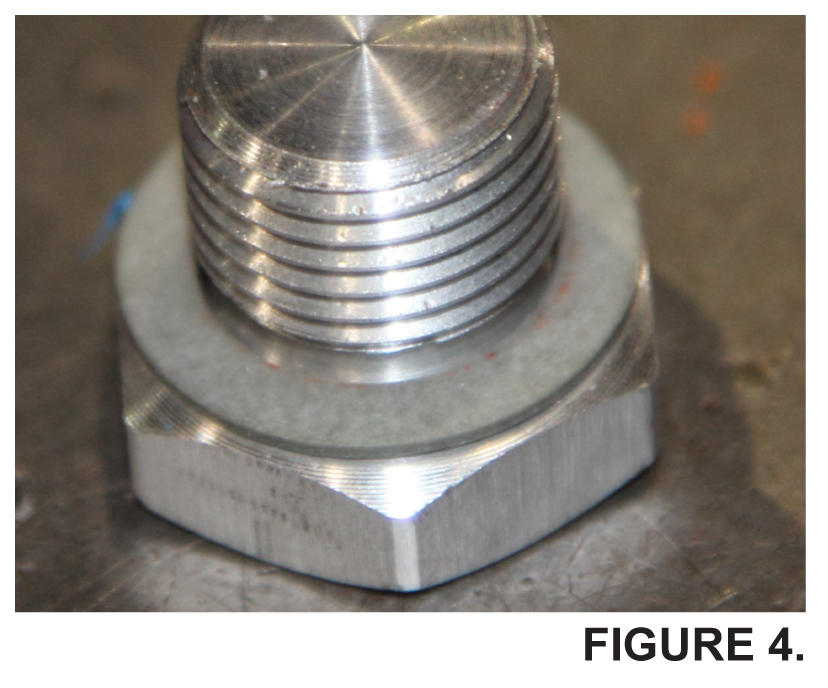
Inspect the oil fill plug gasket for proper security. If necessary, replace the gasket with a factory approved replacement part only. FIGURE 4.
-
Reinstall the oil filler/level plug. Tighten securely with a suitable wrench. FIGURE 2.
-
Wipe off any excess spilled oil. Properly dispose of any spilled oil.
CAUTION!
Correct oil level is important to insure proper centrifugal clutch operation. Excessive oil level will cause excessive clutch slippage. Low oil level will cause improper lubrication. Both conditions will cause high operating temperatures that will reduce service life and affect digging performance. Service related problems as a result of improper transmission lubrication are not covered by the product warranty program.
Transmission Oil Capacity: 1 US quart (.94 l)
Transmission Oil Type: SAE 10W30, SAE 30 Detergent, conforming to API Classification SJ or later
Consult the Operator Manual for additional information.
To download the Operator Manual, Click or copy and paste the
URL: http://www.generalequip.com/prod_library/267-item.pdf into a browser.
If you have any questions or comments, please feel free to contact us.
Telephone: 800.533.0524 | Email: support@generalequip.com